Turkey Day: Color Match Turkey

Screen Shot 2017-11-21 at 8.10.51 PM

“Hello, Mr Turkey how are you!” Madeline has been singing this song she learned in preschool all month and we have done our fair share of handprint turkeys (check out our IG to see her process oriented turkey, trust me, it’s hilariously adorable) , but I wanted to do something new that we haven’t done before for the blog! I saw a color match activity using popsicle sticks somewhere and it made me immediately think “turkey feathers!”. This needs some grown up prep work, but once it’s complete it could keep the kids table on Thursday entertained for a while!

Craft/Activity/Snack:  Color match turkey
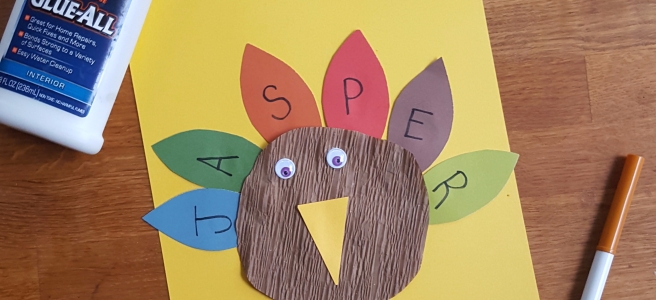
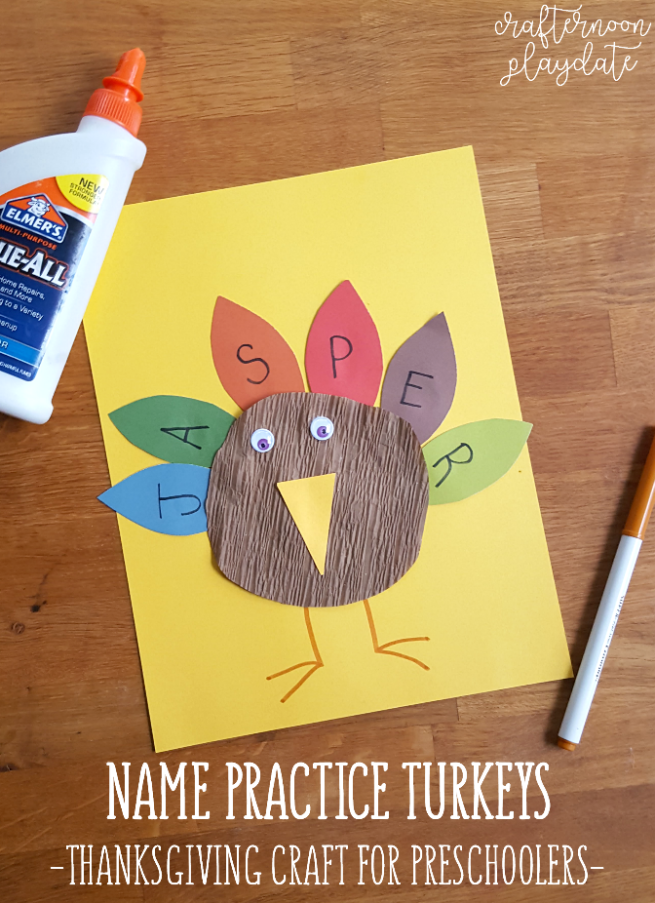
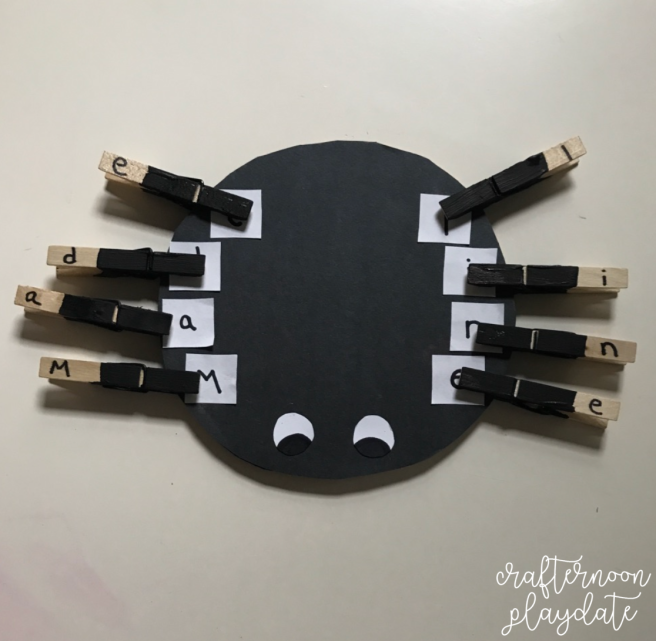
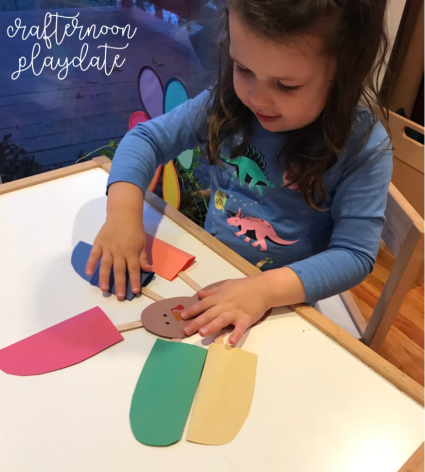
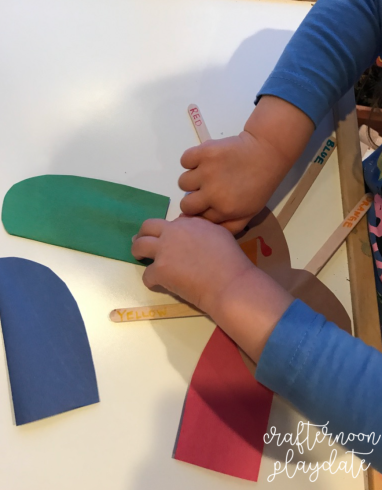
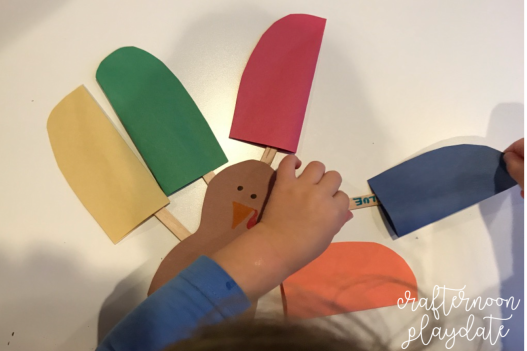
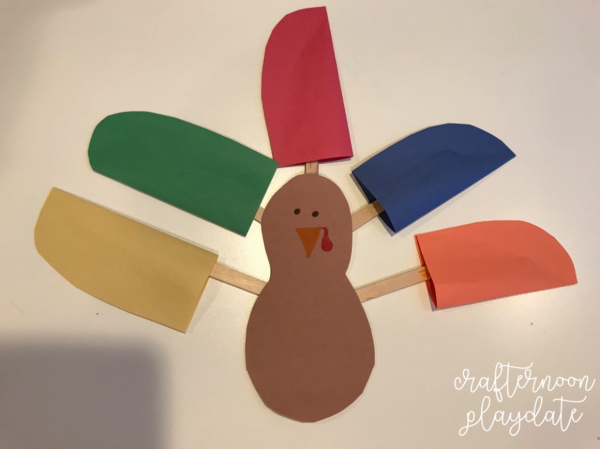
Objective: have your child “Feather the turkey” by matching the feathers to the corresponding color name on the popsicle stick.
SkillsUtilized: color recognition, fine motor skills, language development
SuggestedReading: The Night Before Thanksgiving by Natasha Wing
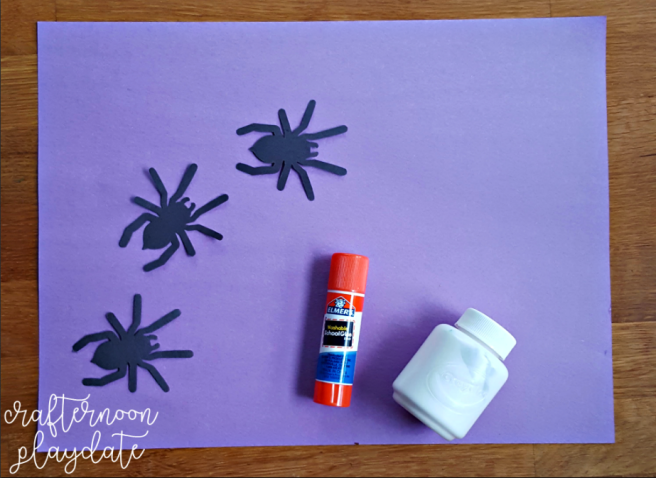
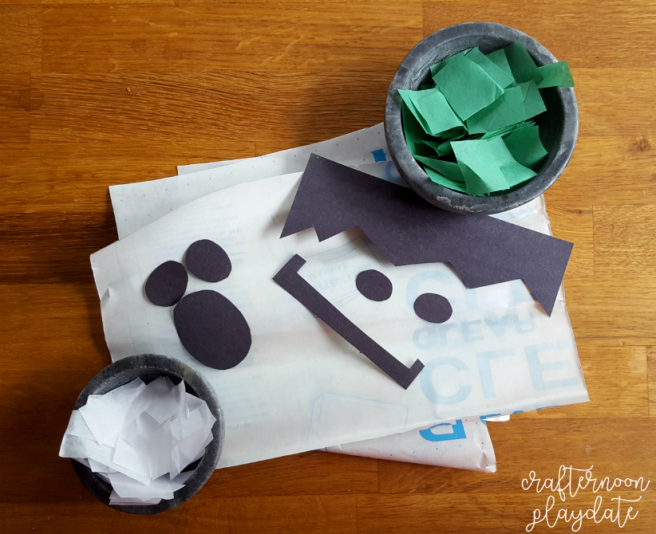
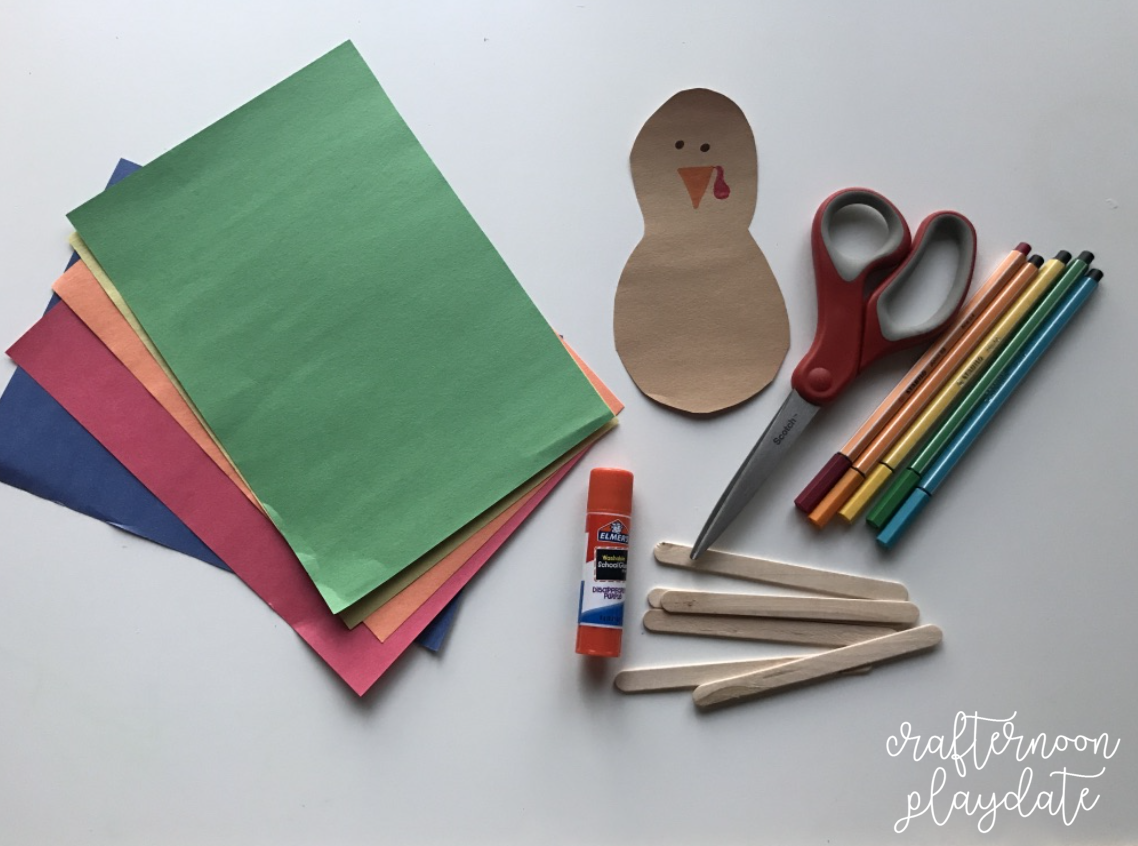
Materials: various colors of paper (you could use felt to prolong the life of the activity as paper can get ripped/crinkled. I just used what we had!), glue, markers to match the colored paper, scissors, a “turkey body”, popsicle sticks

Screen Shot 2017-11-21 at 7.56.17 PM

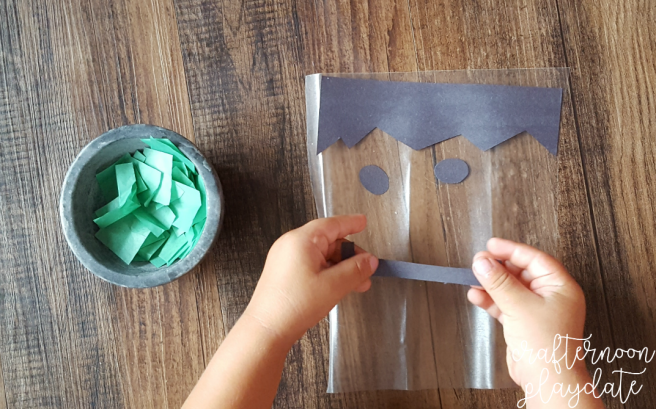
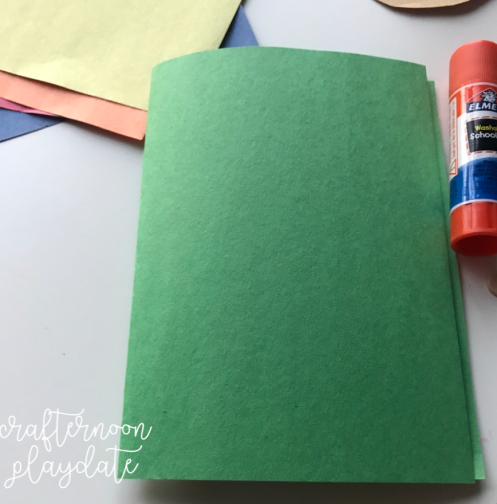
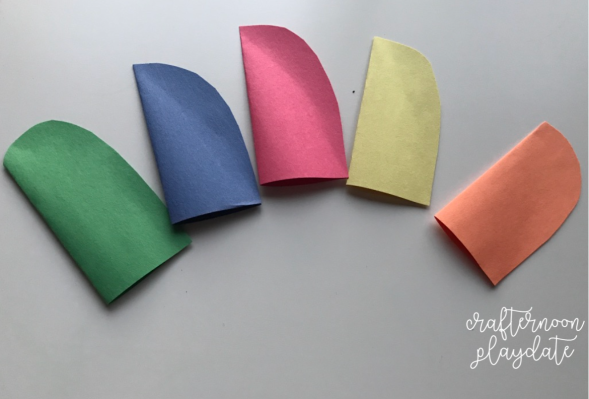
Starting with any color, fold the paper in half as if you were creating a greeting card.

Screen Shot 2017-11-21 at 7.57.03 PM

Screen Shot 2017-11-21 at 7.57.54 PM

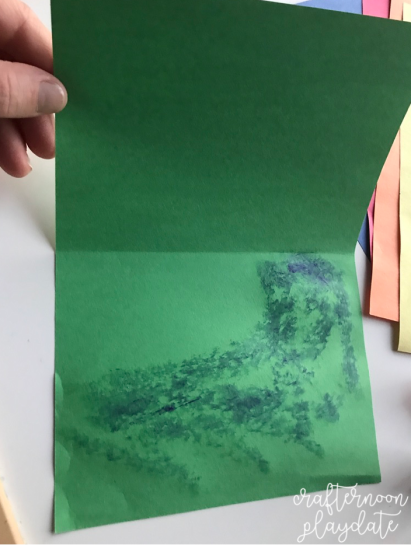
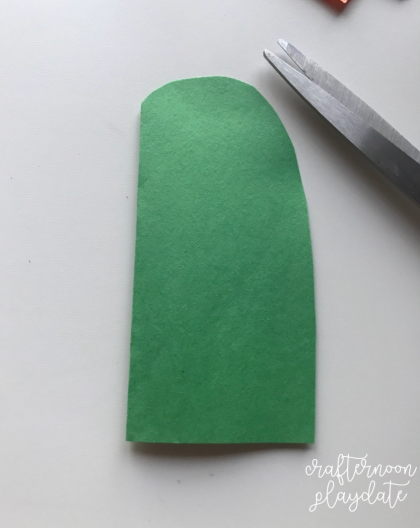
Glue the paper as shown above, leaving a gap. Once dry, cut into a rounded “feather shape”.

Screen Shot 2017-11-21 at 7.58.55 PM

There should be a small pocket in the feather as shown below.

Screen Shot 2017-11-21 at 7.59.21 PM

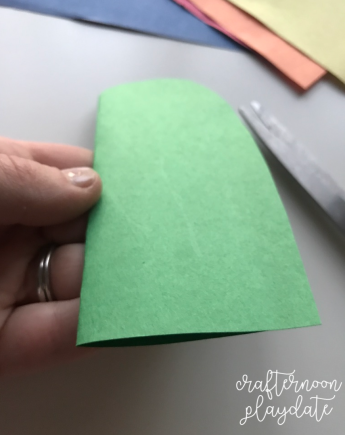
Repeat this process with each colored paper.

Screen Shot 2017-11-21 at 8.00.19 PM

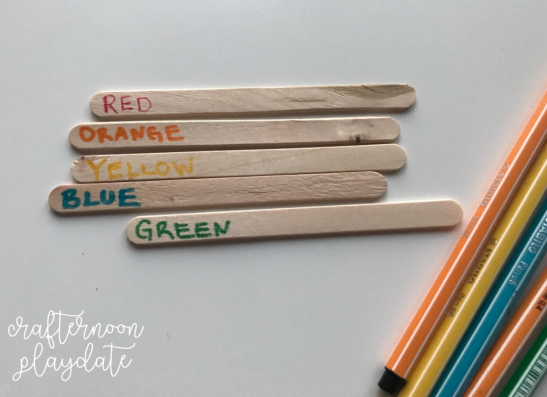
Label the popsicle sticks using the marker of the corresponding color.

Screen Shot 2017-11-21 at 8.01.05 PM

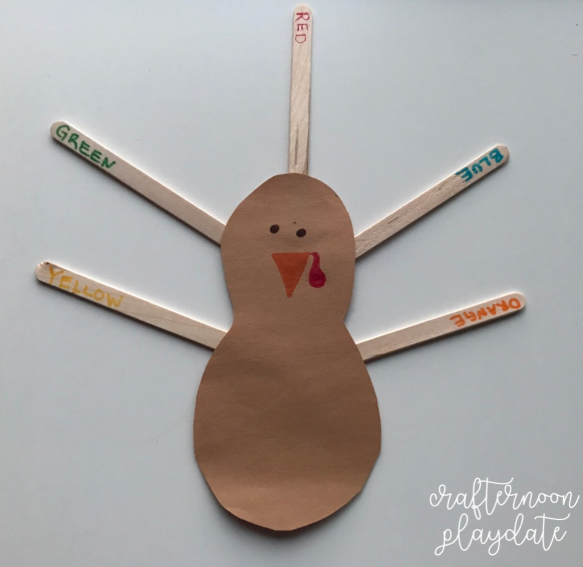
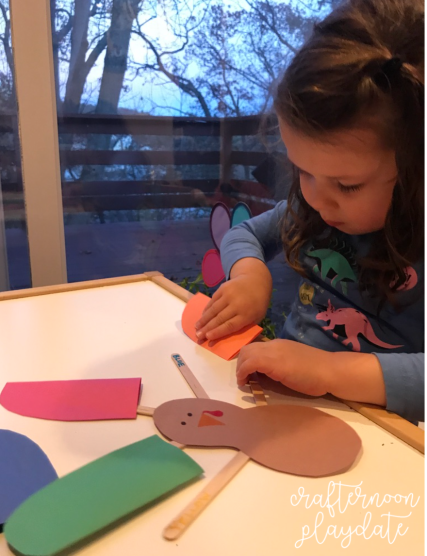
Attach the popsicle sticks to the back of the turkey body.

Screen Shot 2017-11-21 at 8.03.35 PM

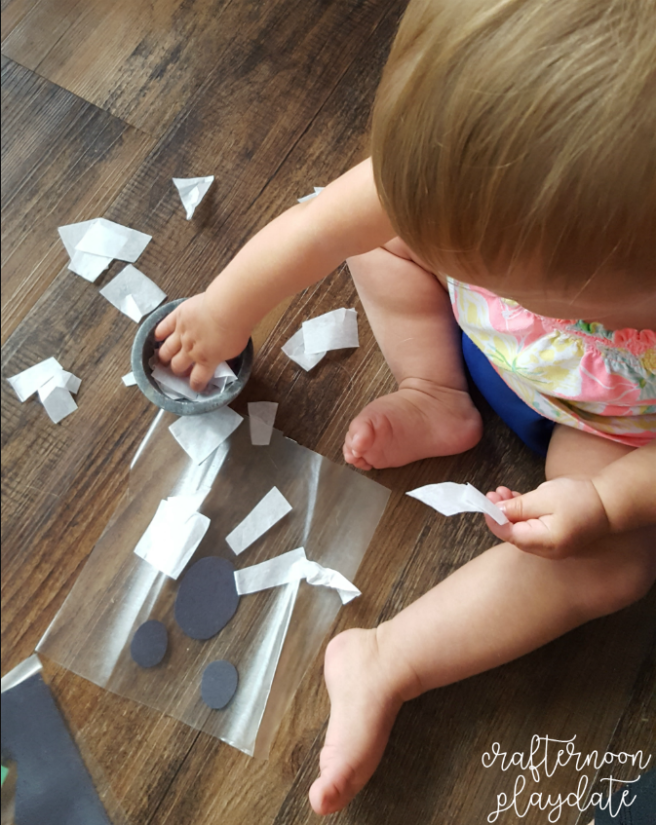
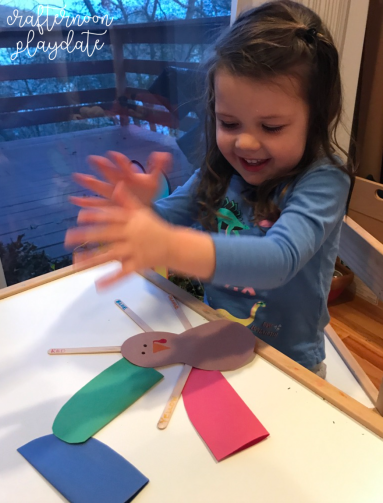
Let your little one at it! This opened up a lot of conversation (and singing!) for us. We discussed the color names (the letters, letter sounds, etc.) and Madeline was very determined and focused to get those feathers on.

Screen Shot 2017-11-21 at 8.05.51 PM

Screen Shot 2017-11-21 at 8.07.31 PM

Screen Shot 2017-11-21 at 8.06.40 PM

Screen Shot 2017-11-21 at 8.08.39 PM

Screen Shot 2017-11-21 at 8.09.36 PM

Illustrated Avatar Amanda

Ways to Expand This Activity:

1. For older children, write the color names in black marker.

2. Write sight words on the feather and popsicles for a sight word match.

3. Sing one of our favorite Thanksgiving songs by Laurie Berkner!

Turkey Day: Name Practice Turkeys

Need an idea for the kids table at Thanksgiving? We love practicing name recognition and this is a simple way to tie that into the holiday. Using our matching method, your little ones could even make these in miniature to serve as place cards for the whole family!

You’ve probably noticed the lull over here and we are both so sorry! October and November were so busy in our ‘real’ lives. First, Amanda’s family of three took a super happy vacation and that was immediately followed by my family roadtripping to New England to leaf peep and celebrate with the witches. We spent some time together (not nearly enough) and shared some of our escapades on Instagram! Maddy turned three and was surrounded by her family; and then we had Jasper’s third birthday party . Yes – we are childhood best friends who coincidentally had our first children only 3 weeks apart! We’re now just getting back to our normal routines… and just in time for the holidays!

We’re kicking off our Turkey Day theme with these adorable turkeys. While we’ve made them as part of our introduction to Thanksgiving, they would be great crafts for a kids table at your family dinner.

Need an idea for the kids table at Thanksgiving? We love practicing name recognition and this is a simple way to tie that into the holiday. Using our matching method, your little ones could even make these in miniature to serve as place cards for the whole family! Continue reading “Turkey Day: Name Practice Turkeys”

Halloween: Paper Plate Skull

Jasper has an unreal fascination with skeletons ever since he saw The Nightmare Before Christmas. One of his favorite parts is during the intro when Jack says “I can take off my head to recite Shakespearean quotations” and J immediately responds “I no take off my head!! I not Jack.” Channeling that excitement into an educational craft was a great way to reinforce his knowledge of shapes while also inspiring him to role play (even if it was as a creepy character!)

PlateSkulls Continue reading “Halloween: Paper Plate Skull”

Halloween: Hand and Footprint Crafts

Having worked professionally with children for over a decade, I have lots of tried and true projects that I’ve been doing with kiddos year after year. A favorite of mine is hand and footprint projects. These make a wonderful keepsake and are fun to repeat each year to see how much your little one has grown! Scroll down to see some Halloween projects I have done throughout the years! We would love to see what you creat – don’t forget to tag us on IG @crafternoonplaydate, follow us on Facebook or comment below to share pictures of your spooky crafts!


Craft/Activity/Snack: Halloween themed hand and footprint crafts
Objective: Using your child’s hand or foot, create fun Halloween themed projects
Skills Utilized: language, learning body parts, color recognition
Suggested Reading: Little Blue Trucks Halloween by Alice Schertle
Materials: paint, paper, paintbrush, little hands and feet!

Other ideas:

1. Paint feet orange, yellow and white for candy corn!

2. Use handprints to make spiders

3. Ask your child what they would like to make! You’d be surprised how creative kids get with these crafts!

Halloween: Spiderweb Painting with Marbles

For kids, art is even more fun when it involves lots of movement. Make this Halloween spiderweb painting while shaking your BOOty (get it, booooo-ty?)

For some people, there’s nothing creepier than a web full of spiders. I’m very much in the camp of “burn the house to the ground” so it’s a seasonally appropriate craft in these parts haha. Jasper actually loves looking at spiderwebs so I knew he’d really enjoy painting his own even though the ick factor wasn’t there for him. This is also a really fun ACTIVE painting project that incorporates process over product (even though the product is creepy cute!)

MarbleWeb9

Craft/Activity/Snack: Spiderweb Painting
Objective: Shake, shake, shake your way to a unique spiderweb painting just in time for Halloween
Skills Utilized: gross motor skills
Suggested Reading:
Materials: dark colored construction paper, white paint, spider cut outs (I used a discontinued EK success spider paper punch – this is a similar one), a large marble or bouncy ball, shoe box (one that will fit a full piece of construction paper), and glueMarbleWeb

Dab some white paint on the paper and place it at the bottom of a cardboard box. MarbleWeb2

Close the box and let your little shake, wiggle, and rock the box from side to side. (Finally, this project gave purpose to one of the many Amazon boxes we have delivered daily :-p) We’ve had plenty of rain lately so Jazz really took advantage of this part of the project and jumped around gleefully. MarbleWeb3

We were eager to peek inside to see what his web would look like and were not disappointed.For kids, art is even more fun when it involves lots of movement. Make this Halloween spiderweb painting while shaking your BOOty (get it, booooo-ty?)For kids, art is even more fun when it involves lots of movement. Make this Halloween spiderweb painting while shaking your BOOty (get it, booooo-ty?)

Now, you could stop here and let this simply be a process over product piece or you can ‘make sense’ of the random pattern and add little spiders. While I used a paper punch, you could cut spiders out of paper, use spider stickers, stamp spiders, create fingerprint spiders, or simply draw one. For kids, art is even more fun when it involves lots of movement. Make this Halloween spiderweb painting while shaking your BOOty (get it, booooo-ty?)

One or two spiders weren’t enough and Jasper decided to add a whole family to his creepy crawly masterpiece.For kids, art is even more fun when it involves lots of movement. Make this Halloween spiderweb painting while shaking your BOOty (get it, booooo-ty?)

Want some other SPIDER projects for a complete spider theme? How about these:

Bugs: The Icky Sticky Spiderweb GameIckySticky Spiderweb Game
Bugs: Very Busy SpiderScreen Shot 2017-07-27 at 4.45.35 PM

Extension Activities:

  1. Make several paintings and label each with a different number. Use that number to determine how many spiders should be added
  2. Venture outside to search for and observe a spider web
  3. Have a focus on the number 8, after all spiders have eight eyes and eight legs
  4. Use white crayon on black paper to draw your own spider webs

For kids, art is even more fun when it involves lots of movement. Make this Halloween spiderweb painting while shaking your BOOty (get it, booooo-ty?)
Illustrated Avatar Jess

Halloween: Cottonswab Skeleton


IMG_9184

October is here and it is not only Madelines birthday month but also the month of one of our favorite holidays-Halloween! Create these cute cotton swab skeletons for a fun and minimal supply decoration children of all ages will enjoy.

Craft/Activity/Snack: Cotton Swab Skeleton
Objective: Create dancing skeletons using glue and cotton swabs
Skills Utilized: following directions, identifying objects from small, medium, big, fine motor
Suggested Reading: Halloween Hustle By Charlotte Gunnufson
Materials:  glue, a “skeleton face” cut out, 3 cotton swabs, 6 cotton swabs cut in half (12 halves), 1 cotton swab tips cut off (so 2 small pieces), optional: bow

 IMG_9142

First, I put the glue down to create the main part of the skeleton. You could certainly make this a process oriented skeleton by allowing your child to glue the swabs however they’d like, however for this particular craft, I wanted Maddy to follow specific instructions to create the dancing skeleton.

Next, I instructed Maddy to find a big cotton swab to put in the center glue line.

IMG_9147

She was already digging this project.

IMG_9144

Next, I asked her if she could find the medium size cotton swabs. She first reached for the smallest but I asked If there were any that were bigger than those, but smaller than the big one we just glued down. These further instructions helped and she was on it!

IMG_9151

IMG_9154

Next we did the legs, so she had to find the big swabs. She incorporated counting as she glued down each leg- “1 little leg…2 little legs..”

IMG_9158

She asked to do the head and the bow next so that is what we did.

IMG_9160

img_9167.jpg

Now do the monster boogie, the monster boogie ’round the room!!

IMG_9185


Ways to Expand Upon this Activity:

  1. Watch and dance to The Skeleton Dance !
  2. Add in some science and read The Skeleton Book by Robert Winston to learn about bones.

Illustrated Avatar Amanda


Halloween: Tissue Paper Sun Catchers

Calling all ghouls and boys - here's a Halloween project that even your littlest crafters can make. Spooktacular!

One of my all time favorite playdate crafts is a tissue paper sun catcher. Aside from the tissue paper squares, it’s essentially a mess-free project which is great when you have several kids crafting away at your house. I’m pretty sure we make a version of these during every season, too, because they’re just that darn easy and cute. Last year, I hosted a huge playdate with our local MOMS Club and we made jack-o-lantern sun catchers so this year, the kids and I used the same method to make some fiendish friends.

Calling all ghouls and boys - here's a Halloween project that even your littlest crafters can make. Spooktacular!

Craft/Activity/Snack: Tissue Paper Sun Catcher Monsters
Objective: Utilize opaque black and transparent colored tissue paper to create monster faces
Skills Utilized: facial recognition, fine motor skills
Suggested Reading: Room on the Broom by Julia Donaldson
Materials: clear contact paper, black tissue paper or construction paper cut into eyes/mouths/etc., and colored tissue paper squares (green for Frankenstein’s Monster or a witch, white for a ghost or mummy, orange for a pumpkin, etc.)Calling all ghouls and boys - here's a Halloween project that even your littlest crafters can make. Spooktacular!

Give each child a smallish rectangle of contact paper with the paper backing removed. They can touch it and explore it’s tackiness because they’re hands will easily come off whereas the paper will stick pretty much immediately. Jasper wanted to do a monster so he got a bowl of green tissue paper squares and Mila got the white to make a ghost.

First, our ghouls need a face! Let the children place the black eyes and mouth where they’d like on the contact paper. We also cut some hair for Frankie. I’m never concerned with the faces being applied perfectly because this is a child’s project… if they’re happy, you can be happy!Calling all ghouls and boys - here's a Halloween project that even your littlest crafters can make. Spooktacular!

Once the black pieces are down, it’s time to start adding all of the tissue paper. This step requires little to no guidance. The main goal is for as much of the contact paper to be covered but let them decide when they’re done. I supervised closely only because I was worried Mila would try to eat the paper. Surprisingly, she did not! She really enjoyed mashing handfuls of tissue paper onto the ground… some of which actually got onto the contact paper haha! Calling all ghouls and boys - here's a Halloween project that even your littlest crafters can make. Spooktacular!Calling all ghouls and boys - here's a Halloween project that even your littlest crafters can make. Spooktacular!

Calling all ghouls and boys - here's a Halloween project that even your littlest crafters can make. Spooktacular!

Once your child is satisfied, you can place another piece of contact paper over the tissue (creating a sealed sandwich essentially) or you can leave it as is. Normally, I cover the reverse side with another piece but decided against it this time. Calling all ghouls and boys - here's a Halloween project that even your littlest crafters can make. Spooktacular!Calling all ghouls and boys - here's a Halloween project that even your littlest crafters can make. Spooktacular!

Then, cut out the monster and hang in a window with a little tape! You could also punch a hole and string a ribbon through but totally not necessary. Calling all ghouls and boys - here's a Halloween project that even your littlest crafters can make. Spooktacular!Calling all ghouls and boys - here's a Halloween project that even your littlest crafters can make. Spooktacular!Calling all ghouls and boys - here's a Halloween project that even your littlest crafters can make. Spooktacular!

Extension Activities:

  1. Cut a pile of tissue paper squares for several creepy things (orange for a Jack-o-Lantern, green for Frankenstein’s Monster or Witch, white for a Mummy or Ghost, brown for a Werewolf or spider, and gray for tombstones or zombies) and have the kids sort the squares by color
  2. Create a story about the monsters you create
  3. Count how many squares of tissue paper you used

Calling all ghouls and boys - here's a Halloween project that even your littlest crafters can make. Spooktacular!

When you make yours, be sure to share it on our Facebook page or tag us on Instagram using #crafternoonplaydate or @crafternoonplaydate

Illustrated Avatar Jess

Pumpkins: Pumpkin Painting

img_8775.jpg

I love carving a pumpkin with kids but it usually ends in these two scenarios – the child having the adult do all the work, or in my case, me making my dear husband do all the work! To make this process of picking out a pumpkin and decorating it easier on everyone, I have been getting mini pumpkins for the children in my care and now my own little one to paint as they see fit!

Craft/Activity/Snack: Pumpkin Painting
Objective: use a pumpkin as a canvas for a process over product oriented craft
Skills Utilized: painting, color identification, fine motor skills
Suggested Reading: The Biggest Pumpkin Ever by Steven Kroll
Materials: any size or color pumpkin, paint, paintbrushes, paint palatte

IMG_8743

IMG_8744

img_8748.jpg

IMG_8760

IMG_8772

IMG_8777


Ways to Expand Upon this Activity:

1. Make it a super easy clean up by using stickers instead of paint!
2. If you do have the time and energy to carve a pumpkin, scooping and exploring the inside of a pumpkin makes a wonderful sensory activity for toddlers and preschoolers!
3. Make it an early literacy activity by practicing writing letters on the pumpkins.
4. Use washable paint so you can wash the pumpkin off and paint again and again! (we did this!


Illustrated Avatar Amanda

Pumpkins: Watercolor Shapes

Don’t have the time to prep but want a simple and educational craft to display? Try this Patch of Pumpkin Shapes with your preschooler!

PumpkinShapes2

Craft/Activity/Snack: Pumpkin Patch of Shapes
Objective: Paint/decorate pumpkins that look like shapes to help reinforce shape recognition
Skills Utilized: shape recognition, pre-writing skills, fine motor skills
Suggested Reading: Big Pumpkin (my favorite!) by Erica Silverman
Materials: White construction paper, permanent marker, and orange art medium of your choice (we used watercolor paint)

PumpkinShapes.PNG

This pumpkin patch craft is great because it requires literally no prep and you can use literally any craft medium you have available – crayons, markers, glitter and glue, regular washable paint, etc. I absolutely adore watercolors and will find any excuse to bring them out for Jasper so you can guess why we used them this time around. Another reason I love this project is because if you have multiple children, an entire playgroup, or a classroom of kids you can let each child pick a single shape and you can create a pumpkin patch display with each of their works of art. Since it’s just Jasper and I (as Mila was napping), I let him dictate which shapes he wanted and drew them out for him.

STEP 1: Start by asking your child which shape/shapes they would like to see. Taking their lead, draw your shapes with permanent marker and morph them into pumpkins by rounding out the angles and then adding curved vertical lines, a stem and vine. Voila!

PumpkinShapes1

STEP 2: Paint or color the pumpkin/s and that’s it. Seriously. PumpkinShapes2PumpkinShapes3PumpkinShapes4

Jasper enjoyed this so much he actually requested a second sheet with even more shapes: PUmpkinShapes5pUMPKINsHAPES6PumpkinShapesFeatured

Such an easy and fast project with a unique end result. You can also give the kids green or brown paint to fill in the stem and vine.

Illustrated Avatar Jess


Pumpkins: Jack-o-lantern Mash Up Printable

Love Jack-o-Lanterns? Your preschooler is sure to enjoy the multitude of silly pumpkin faces they can create with our free printable! - Crafternoon Playdate

One of our favorite fall traditions is making jack-o-lanterns. It’s still a little early in the season so this mess-free activity is a great stand in! Your preschooler is sure to enjoy the multitude of silly pumpkin faces they can create. All you need is to download our FREE printable, cut it apart and you’re set.  Grab the download after the jump…

Love Jack-o-Lanterns? Your preschooler is sure to enjoy the multitude of silly pumpkin faces they can create with our free printable! - Crafternoon Playdate Continue reading “Pumpkins: Jack-o-lantern Mash Up Printable”